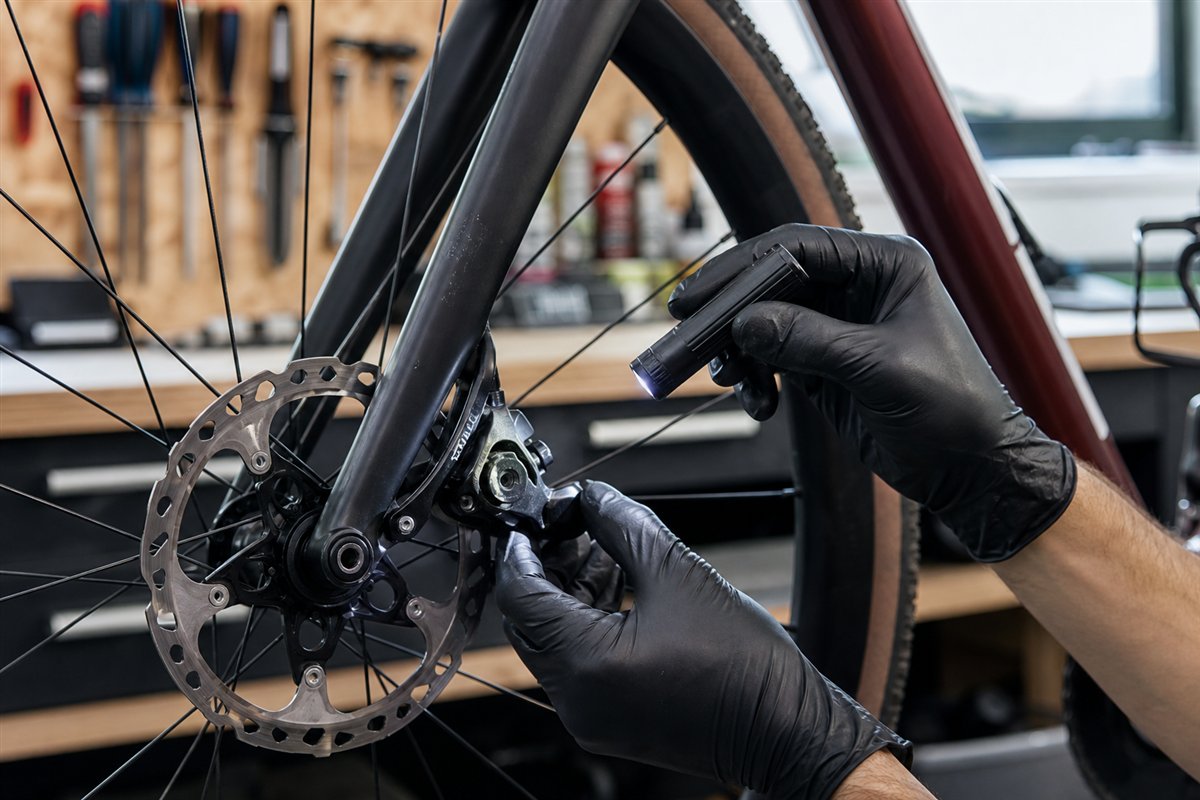
A bike brake inspection starts with a stationary function check, then looks at pad material, braking surfaces, cables or hoses, calipers, and wheel security. Do not road-test a brake that already feels weak, leaks, or has damaged parts.
Stationary function check
Apply the front and rear brakes separately. Each lever should become firm before touching the handlebar. Hold the brake and gently try to roll the bike; the brake should resist predictably.
Visual inspection
- Confirm enough pad material remains according to the brake maker.
- Check that rim pads meet only the braking track, never the tire.
- Look for rotor or rim cracks, severe scoring, or deformation.
- Inspect cables for fraying and housing for splitting.
- Inspect hydraulic hoses and fittings for wetness or damage.
- Confirm the wheel is seated and secure.
Keep friction surfaces clean
Do not touch rotors or pad faces. Keep chain lubricant, polish, and general cleaners away. Contaminated pads may need replacement even when they remain thick.
Professional service is appropriate for hydraulic leaks, rotor straightening, internal cable problems, wheel damage, or any uncertain adjustment. Read brake pad wear signs next.
Continue the topic
More brake care guides
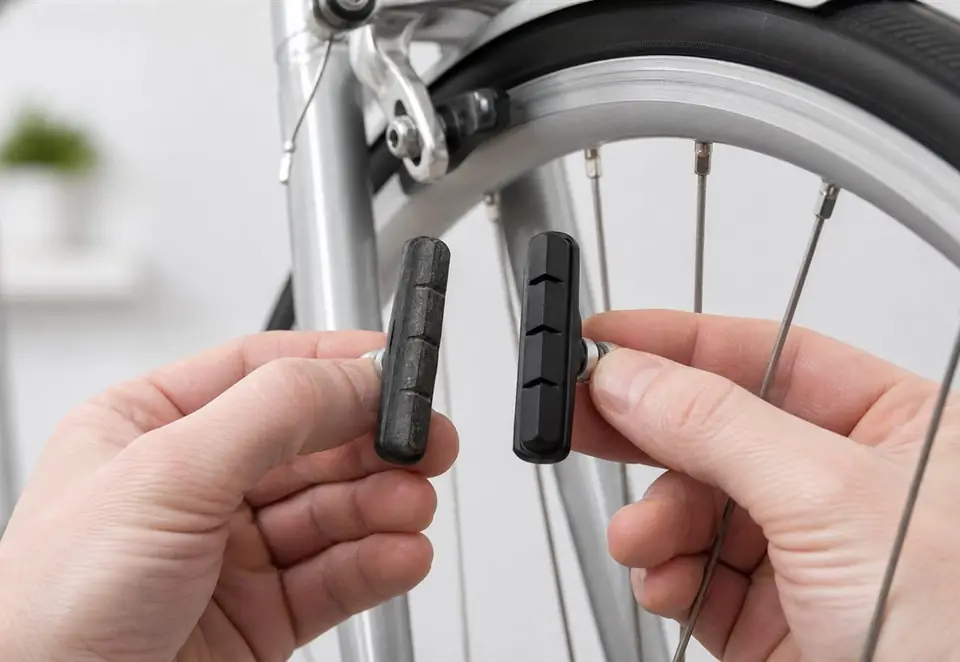 Bike Brake Pad Wear Signs You Should Not Ignore
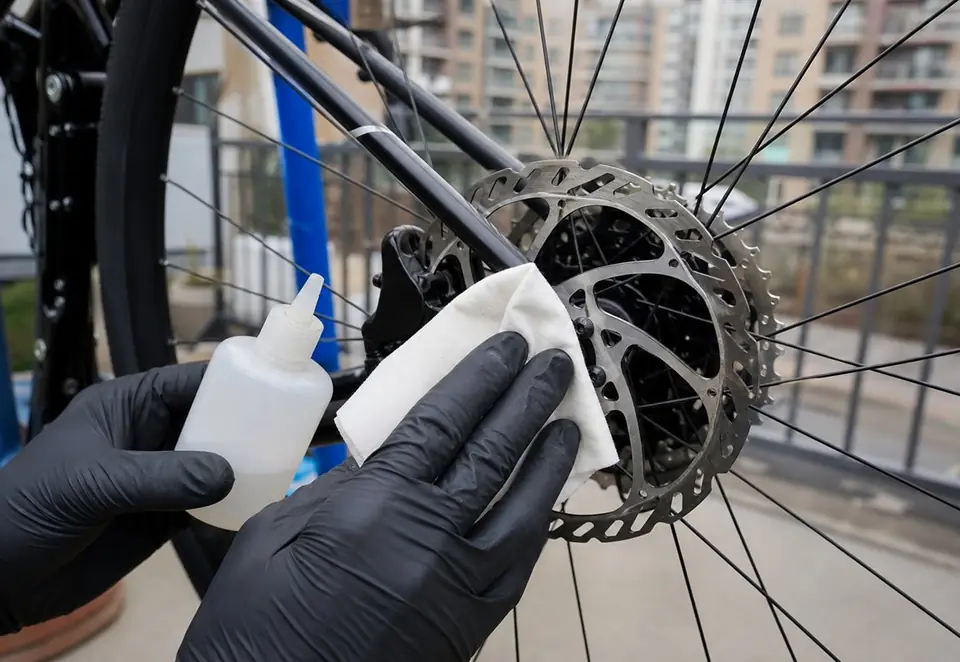 Bike Brakes Squeal: Causes and Safe Fixes
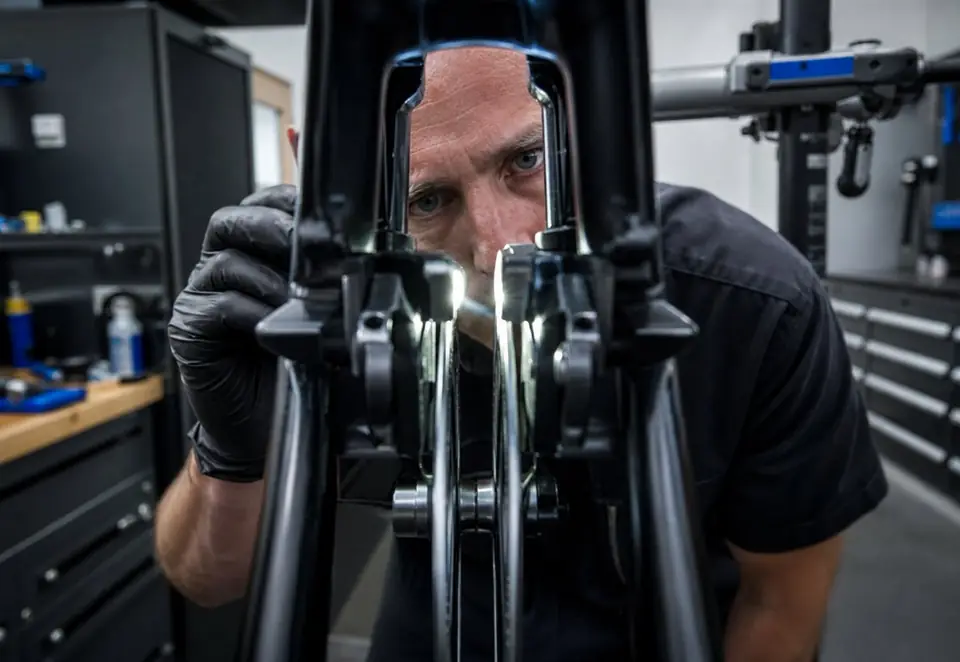 Bike Disc Brake Rubbing: What to Check First
Watch the technique
How to Align a Hydraulic Disc Brake on a Bike
Video by Pascal RIDE · Watch on YouTube