Where to start
Begin with pressure, tread, and both sidewalls. Rotate each wheel slowly in good light, then investigate any area that looks raised, cut, abraded, or different from the rest of the casing.
7 focused guides
Tires are the bicycle’s only contact with the road. A useful tire check separates harmless surface marks from casing damage that can cause a sudden loss of pressure.
Begin with pressure, tread, and both sidewalls. Rotate each wheel slowly in good light, then investigate any area that looks raised, cut, abraded, or different from the rest of the casing.
Stop riding when the casing is bulging, cords are visible, a cut opens under pressure, the bead will not seat consistently, or damage continues to grow. A photograph can document the problem, but it cannot prove the tire is safe.
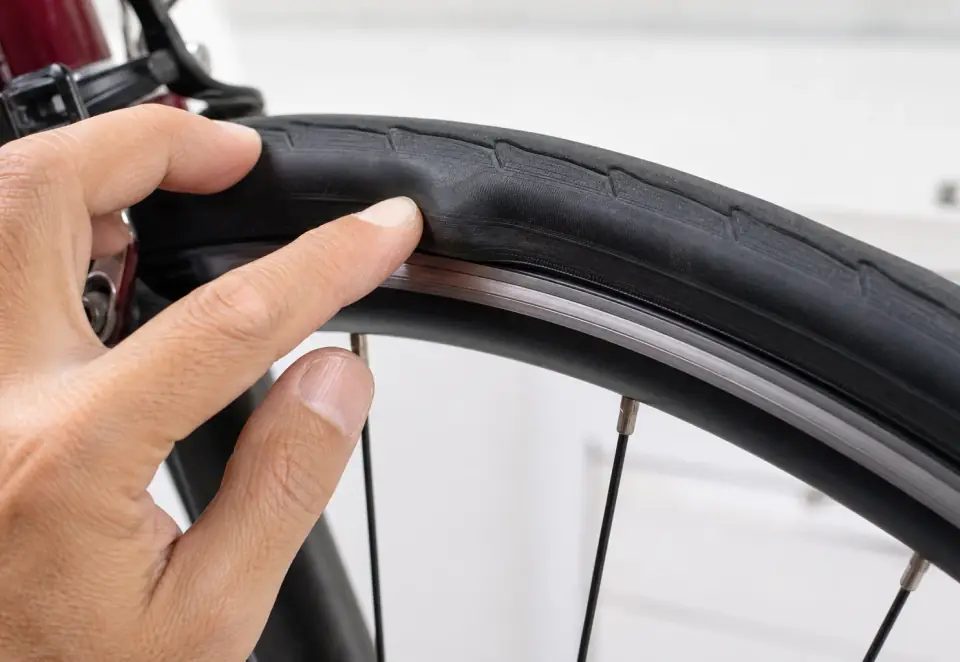
What a tire bulge means, the safe checks you can make, and when the tire needs to come off the bike.
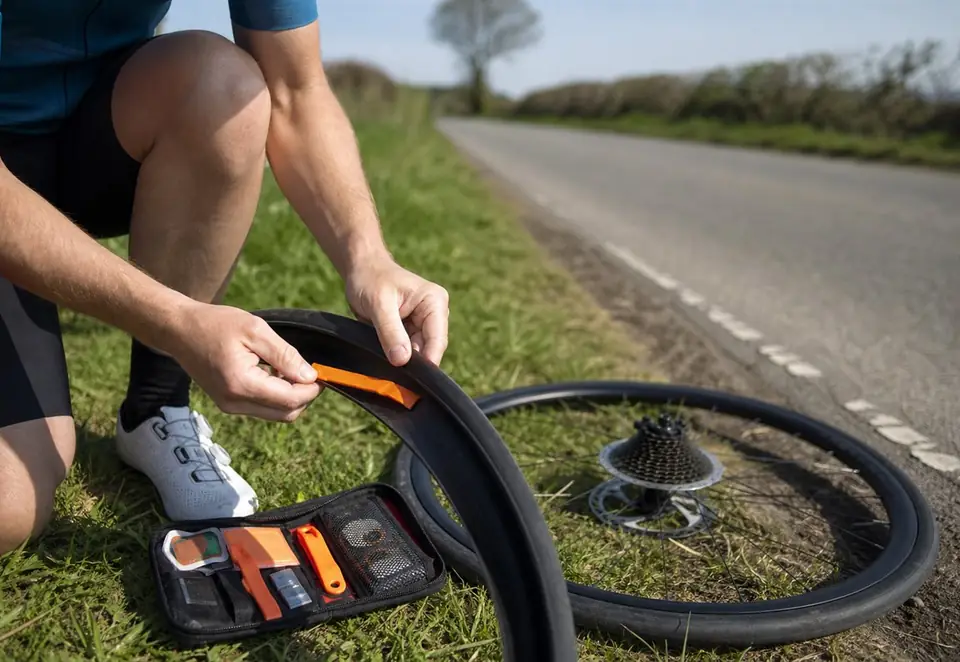
How location, depth, casing exposure, and tire shape determine whether a cut needs immediate replacement.
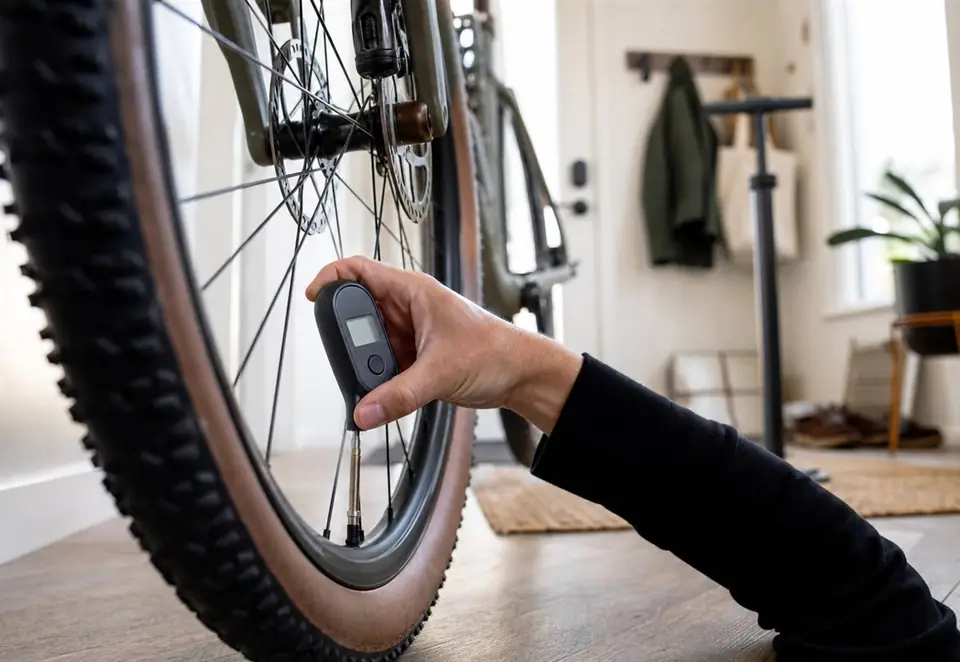
A complete visual and hands-on tire check that takes only a few minutes.
Weight and tire width decide the right pressure far more than any single number on the sidewall. Here is how to dial it in.
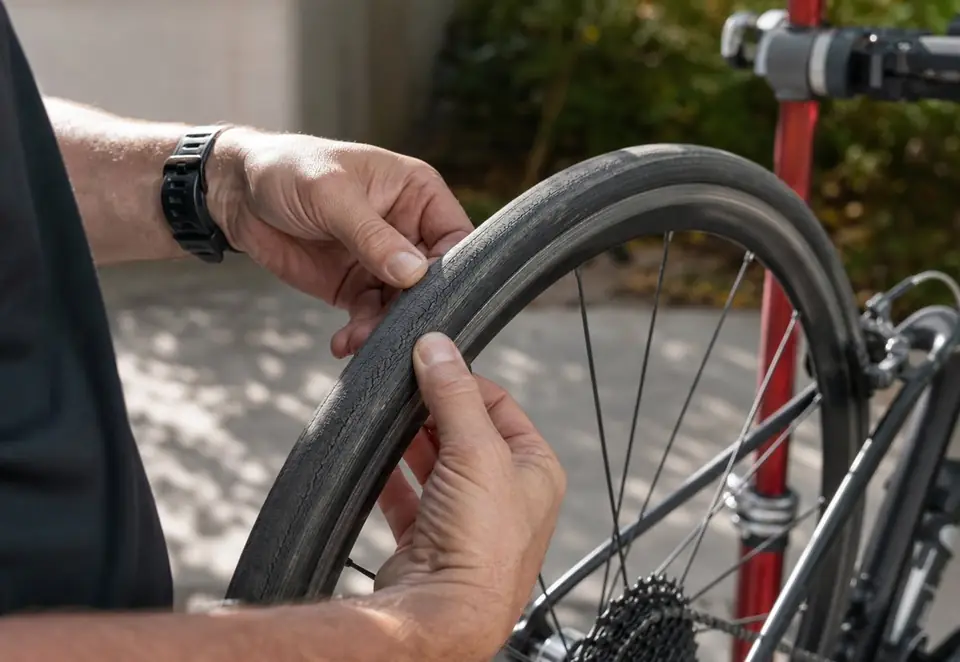
How to distinguish light surface aging from cracks that threaten the tire casing.
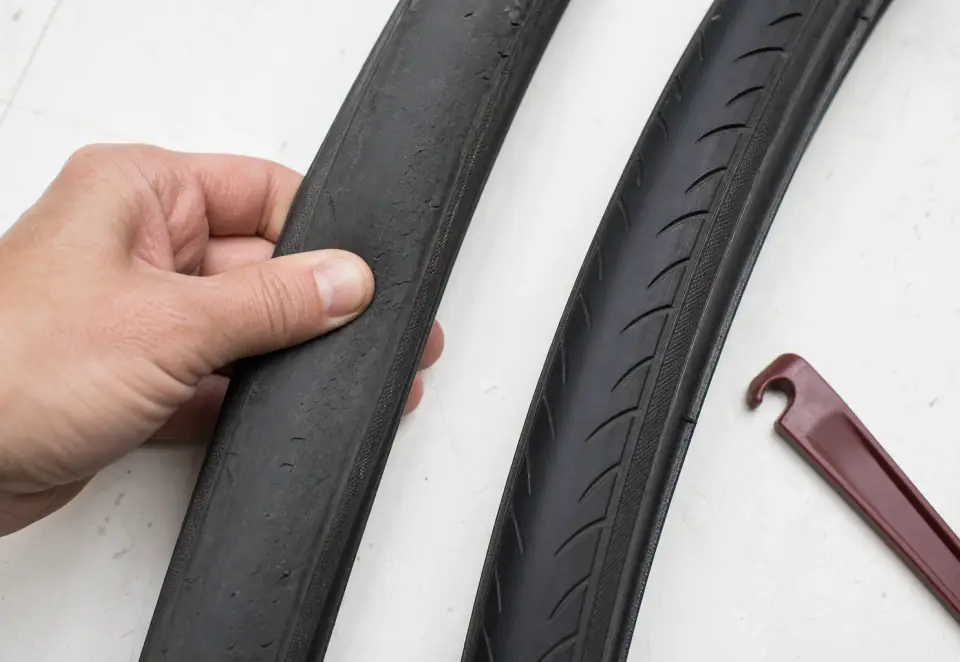
How to read tread, casing, sidewall, and ride-quality changes without relying on mileage alone.
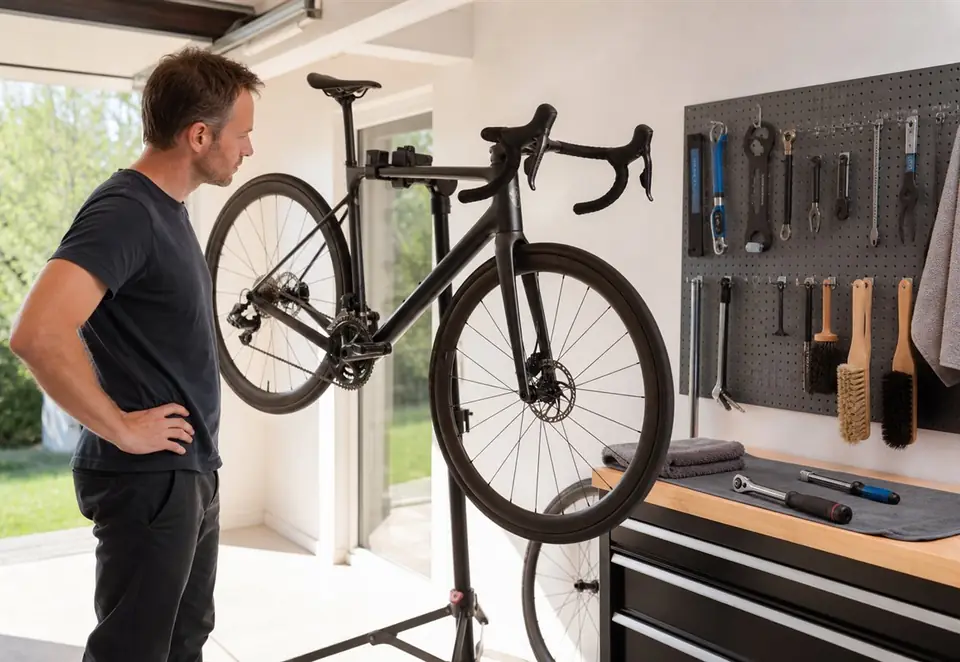
Seven visible and ride-related signals that mean a bicycle tire has reached the end of its useful life.