Bike brakes squeal because the braking surface is wet, dirty, contaminated with oil or degreaser, glazed by heat, worn, or poorly aligned. Most squeal is a nuisance rather than a hazard, but the same noise can also warn of a real loss of stopping power. The safe approach is to check braking performance first: if a brake feels weak, the lever reaches the handlebar, or the noise began after any lubricant reached the brake, stop riding and have it inspected before you diagnose the sound.
In this guide
- Is the squeal dangerous or harmless
- Common causes of bike brake squeal
- Disc brakes vs rim brakes
- When bike disc brakes squeal but you are not braking
- Safe checks you can do at home
- What not to do
- When a mechanic must take over
- How to prevent bike brakes from squealing
Is the squeal dangerous or harmless
Noise matters, but stopping power matters more, so start every diagnosis with braking performance rather than the sound. In a safe, stationary position, apply each brake separately. The lever should firm up well before it touches the handlebar, and the wheel should be held securely against a gentle push. If either brake feels weak, spongy, or inconsistent, treat that as the problem and do not ride until it is resolved.
Once you know the brake still stops the bike properly, you can judge the noise. A squeal that appears for a stop or two in the rain and then fades as the surface dries is almost always harmless. A squeal that comes and goes with speed, temperature, or how hard you pull the lever, without any loss of power, is usually a vibration or bedding-in issue rather than a safety fault.
The squeal you should respect is the one paired with a change in feel: longer stopping distances, a lever that travels further than it used to, a pulsing or grabbing bite, or a grinding rather than a high-pitched squeal. Grinding, scraping, or a metal-on-metal sound is not squeal at all. It usually means the friction material is gone and the backing plate or caliper is contacting the rotor or rim, which can destroy the braking surface quickly. That is a stop-riding situation. For a fuller breakdown of the warning signs, read our guide on bike brake pad wear signs.
A useful mental model is to sort every squeal into one of three buckets before you touch a tool. The first is cosmetic noise with normal power, such as wet-weather singing or new pads bedding in, which needs patience rather than repair. The second is a fixable fault with normal or slightly reduced power, such as light contamination, glazing, or a caliper that is a fraction off-centre, which the home checks later in this guide usually resolve. The third is a safety fault, meaning any squeal that arrives with weak, fading, pulsing, or grinding braking, which belongs to a mechanic. Deciding which bucket you are in before you start saves time and, more importantly, keeps you from riding on a brake that is quietly failing.
Common causes of bike brake squeal
Most squeal traces back to one of a handful of causes. Working out which one you have is mostly a process of looking, listening to when the noise happens, and ruling things out in order.
Contamination
Contamination is the most common cause of a brake that suddenly starts squealing and braking poorly at the same time. Oil, chain lube, silicone polish, degreaser overspray, brake-fluid weeping, or even the natural oils from a bare finger on the friction surface soak into porous pad material. Once a pad is contaminated it not only squeals but loses bite, and disc pads in particular are difficult or impossible to fully recover. This is why the golden rule of brake work is to keep every lubricant and cleaner away from pads and rotors.
Misalignment
If a pad meets the rim or rotor at an angle, or a disc caliper is not centred over the rotor, the surfaces vibrate against each other and sing. On rim brakes this shows up as a pad that hits the rim unevenly, front edge or back edge first. On disc brakes it shows up as a caliper sitting slightly off to one side so the rotor drags on one pad. Re-centring the caliper or re-aligning the brake arms often silences the noise on its own.
Glazing
Repeated hard braking, long descents, or dragging the brake builds heat that can bake the pad surface into a hard, shiny glaze. A glazed pad is smooth to the touch, brakes with less power, and squeals because the slick surface skips across the rotor or rim instead of gripping it. Light sanding of the pad face can restore texture if the pad still has plenty of material left.
Vibration and new pads bedding in
Brand-new pads, or new pads on an old rotor, frequently squeal for the first several rides until the two surfaces mate and a thin, even transfer layer forms. This bedding-in period is normal. It is completed deliberately by making a series of firm, controlled stops from moderate speed so the pad and rotor wear into each other. Vibration squeal on established brakes can also come from a slightly loose caliper, a worn pad-retention spring, or a rotor that is not perfectly true.
Wet weather
A film of water mixed with fine road grit changes the friction between pad and braking surface, and many brakes squeal loudly for the first few stops in the rain or after washing the bike. As the surface dries and the grit is worn away, the noise normally disappears. Wet squeal that does not clear, or that comes with weak braking, is a sign of contamination or worn pads rather than the weather. Rim brakes tend to be noticeably louder and less powerful in the wet than disc brakes, because the water sits on a large aluminium or carbon surface, so if you ride a rim-brake bike, expect a little wet-weather singing and simply plan for longer stopping distances until the rim clears.
It is worth separating “wet” from “dirty” here, because they call for different responses. Pure water noise clears on its own within a stop or two. A braking surface carrying dried mud, salt, or a greasy road film may keep squealing after it dries and is better solved by a proper clean than by waiting. If the noise survives a dry mile of riding, move on from the weather explanation and start looking for contamination or wear.
The table below maps the symptom you hear to the most likely cause and the first thing to check.
| Symptom | Likely cause | First fix |
|---|---|---|
| Squeal only in the wet, clears when dry | Water and grit film | None needed; ride a few stops |
| New squeal with sudden loss of power | Contaminated pads or rotor | Inspect for oil; clean or replace pads |
| Shiny, smooth pad surface, weak bite | Glazed pads | Lightly sand pad face, re-bed |
| Squeal starts after fitting new pads | Pads bedding in | Bed in with firm controlled stops |
| Noise with the lever untouched | Caliper misalignment or bent rotor | Re-centre caliper, check rotor trueness |
| Grinding or metal-on-metal scrape | Worn-out pads | Stop riding; replace pads immediately |
Disc brakes vs rim brakes
The physics of squeal are similar for both brake types, but the surfaces, tolerances, and fixes differ enough that it helps to treat them separately.
Rim brakes press two pads against the wheel rim, so the braking surface is large, easy to see, and easy to clean, and pad alignment is adjusted by loosening the pad bolt and setting the angle by hand. Disc brakes clamp a small steel rotor with tight clearances, run hotter, and are far more sensitive to contamination and to a caliper that is off-centre by even a fraction of a millimetre.
| Factor | Rim brakes | Disc brakes |
|---|---|---|
| Braking surface | Wheel rim (large, visible) | Steel rotor (small, tight clearance) |
| Most common squeal cause | Pad toe-in and rim grime | Contamination and caliper alignment |
| Contamination recovery | Often cleanable; sand the pad | Frequently permanent; replace pads |
| Alignment fix | Set pad angle (toe-in) at the bolt | Re-centre the caliper over the rotor |
| Heat sensitivity | Lower | Higher; glazing more common |
| Cleaner to use | Isopropyl alcohol on rim and pad | Isopropyl alcohol on rotor and pad |
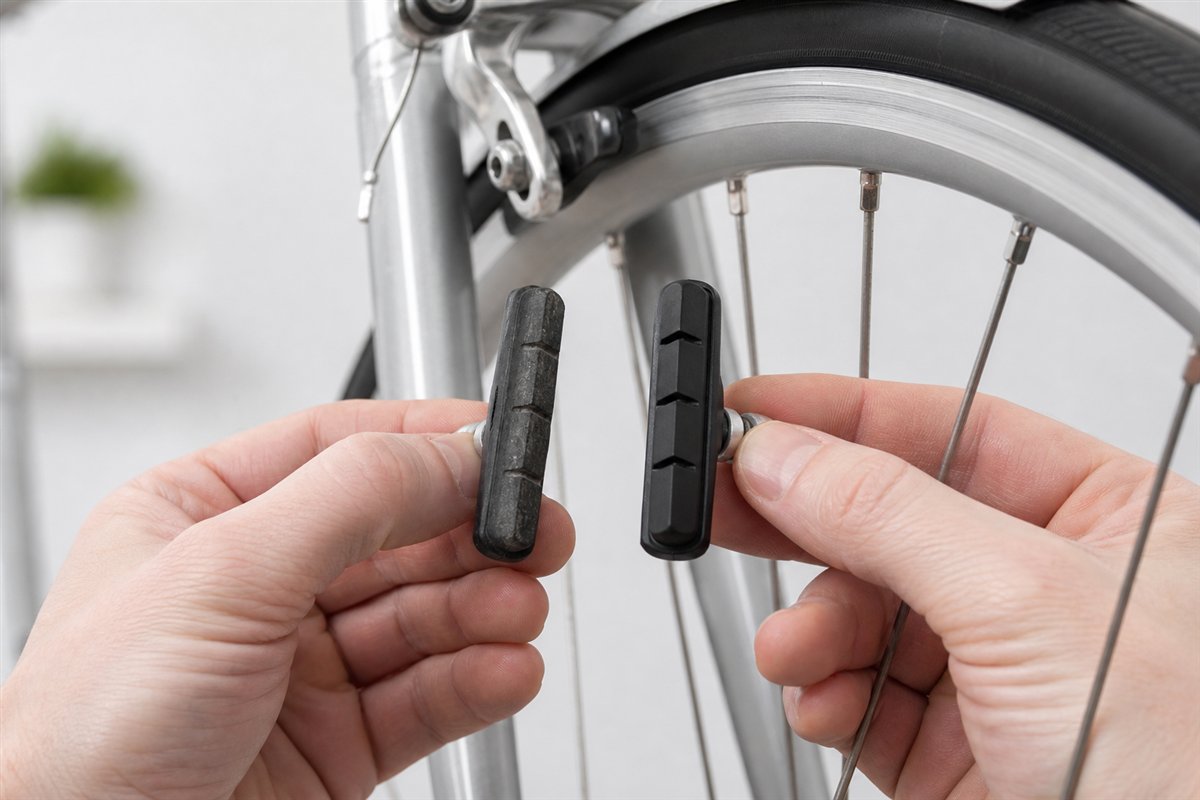
On rim brakes, a classic cure for squeal is a small amount of “toe-in”, where the front of the pad contacts the rim a hair before the rear. Many pad holders allow this angle to be set at the mounting bolt. Keep the pad on the rim’s braking track and never let it touch the tire, which is both a noise source and a blowout risk.
On disc brakes, the equivalent first move is to re-centre the caliper so the rotor runs cleanly between the pads. Because disc pads absorb contamination so readily, a disc brake that squeals with reduced power should be assumed contaminated until proven otherwise. If you ride in the wet often and want to understand how conditions affect worn pads, see can I ride with worn bike brake pads.
When bike disc brakes squeal but you are not braking
A brake that squeals, pings, or ticks while you coast, with the lever untouched, is almost always a rotor rubbing a pad. Disc clearances are tiny, so it takes very little to make the rotor kiss a pad on each rotation.
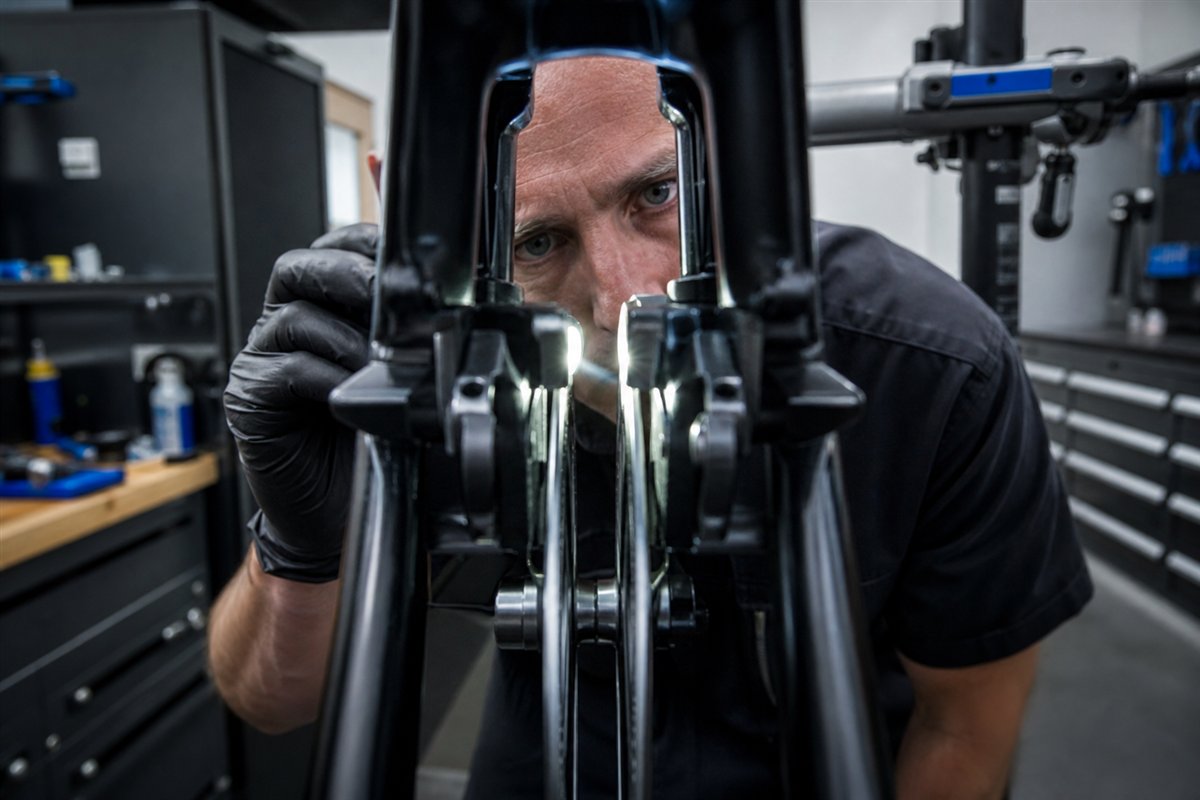
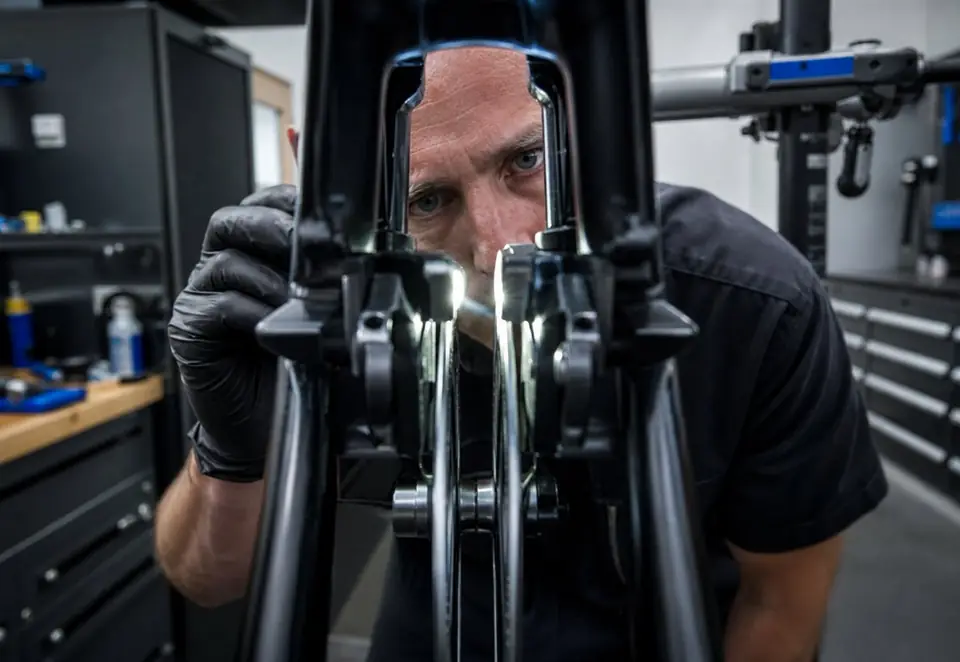
The usual culprits are a caliper that is not centred over the rotor, so one pad sits too close, or a rotor that is slightly bent or warped, so a high spot brushes a pad once per wheel revolution. You can often confirm this by lifting the wheel, spinning it, and watching the gap between the rotor and each pad while listening for a rub that repeats in time with the rotor. A rub that happens at one point each rotation points to a bent rotor; a constant light drag points to caliper centring or a sticky piston.
Re-centring the caliper fixes most no-brake squeal, and a genuinely bent rotor can sometimes be trued by a mechanic with the proper tool. A third, less obvious cause is a hydraulic piston that is not fully retracting, which holds a pad close to the rotor after you release the lever; that usually needs the caliper cleaned and the pistons exercised by a mechanic rather than a simple re-centre. Do not try to bend a rotor straight with random tools, and never touch the rotor with bare, oily fingers while chasing the noise. Our dedicated guide on bike disc brake rubbing walks through the centring process in detail.
Also keep in mind that a small amount of intermittent rotor rub is common and largely harmless on many disc setups, especially just after a wheel has been removed and refitted. If the rub is light, does not slow you noticeably, and does not come with any change in braking feel, it falls in the cosmetic bucket. It is only worth chasing when the noise is constant, drags on the wheel, or grows over time.
Safe checks you can do at home
Everything below assumes braking power is still good. If it is not, skip straight to a mechanic. Work with clean hands, and never touch rotor or pad friction surfaces with bare fingers, because skin oil alone can contaminate a pad.
Clean the rotor or rim and the pads
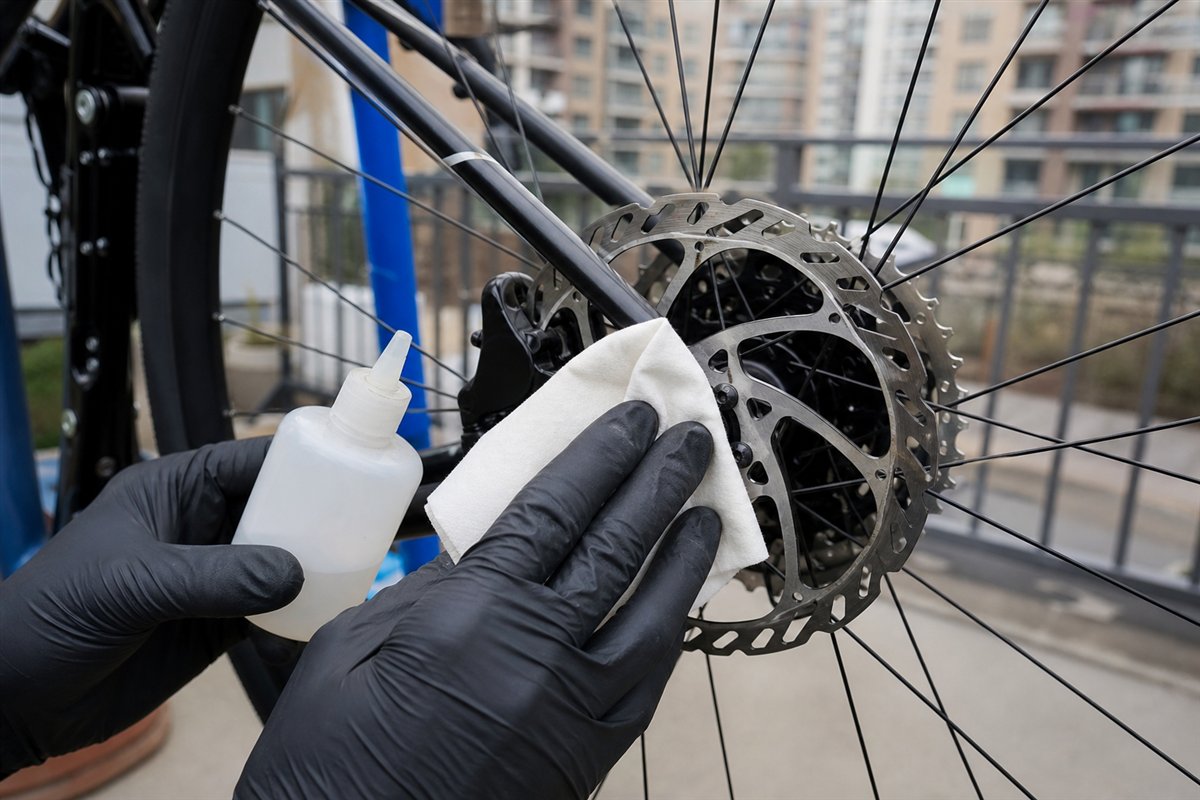
Isopropyl alcohol (rubbing alcohol) is the standard, pad-safe cleaner for brake surfaces. Wipe the rotor or rim braking track with a clean, lint-free cloth dampened with isopropyl, then wipe the pad faces the same way. Isopropyl flashes off without leaving a residue, unlike household degreasers or spray lubricants. If the pads are lightly grimy this alone can end the squeal; if they are deeply oil-soaked, cleaning will not save them.
Re-align or re-centre the caliper
On a disc brake, loosen the two caliper mounting bolts slightly, squeeze and hold the brake lever firmly so the caliper self-centres over the rotor, and re-tighten the bolts evenly while still holding the lever. On a rim brake, check that both pads strike the rim’s braking track squarely and set a touch of toe-in if your pad holders allow it. Small alignment corrections silence a large share of squeals.
Sand glazed pads
If a pad face is glassy and smooth but still has plenty of material left, scuff it lightly on fine sandpaper laid on a flat surface, keeping the pad flat so you do not round the edges. This restores a slightly rough, grippy texture. Sand only true glaze, not a pad that is simply worn thin, and re-bed the brake with firm controlled stops afterward.
Check pad wear and rotor trueness
Look through the caliper at how much friction material remains and compare it to the manufacturer’s minimum. Rim pads carry wear-line grooves that disappear as the pad wears out. Spin the wheel and watch whether the rotor stays centred or wobbles side to side. If pads are near their limit or the rotor is visibly off, that is service, not adjustment. Our brake inspection checklist covers each of these checks step by step.
What not to do
A few well-meant “fixes” make brakes worse or dangerous, so avoid them entirely.
- Never put oil, grease, spray lube, or WD-40 near pads or rotors. It is the single most common way to permanently ruin brakes. A “quiet” oiled brake is a brake that has lost its grip.
- Do not spray household degreaser or aerosol brake cleaner at an assembled brake unless the brake or product maker specifically approves it, as many leave residue or attack seals. Isopropyl alcohol on a cloth is the safe default.
- Do not ignore grinding or metal-on-metal noise in the hope it is “just squeal”. That sound is worn-out pads and it damages the rotor or rim fast.
- Do not try to bend a warped rotor straight with pliers or a screwdriver. You will likely make the wobble worse.
- Do not keep riding a brake with weak power while you experiment with the noise. Fix the power first.
When a mechanic must take over
Home checks handle contamination wipes, alignment, glazing, and bedding-in. Beyond that, hand the bike to a qualified mechanic. See a mechanic for poor or fading stopping power, a hydraulic brake that feels spongy or is leaking fluid, a bent or cracked rotor, worn or damaged cables and hoses, pistons that stick or do not retract, metal-on-metal scraping, or any contamination you suspect has soaked into the pads. A mechanic can true a rotor, bleed a hydraulic system, replace pads as a matched set, and confirm the whole brake is safe in a way that generic online guidance cannot. Because this is a high-attention safety system, when in doubt, do not guess, and do not ride, ask a professional.
How to prevent bike brakes from squealing
Prevention is mostly about keeping the braking surfaces clean and treating new parts correctly.
- Keep lubricants away from brakes. Point chain lube and cleaners away from the rotor or rim, wipe off any overspray immediately, and let degreaser dry fully before it can drift onto pads.
- Bed in new pads properly. After fitting new pads or a new rotor, make a series of firm, controlled stops from moderate speed to establish an even transfer layer before your first hard ride.
- Clean braking surfaces periodically with isopropyl alcohol, especially after wet, muddy, or gritty rides that leave a film on the rotor or rim.
- Handle rotors and pads by the edges with clean hands so skin oil never reaches the friction surface.
- Inspect pad wear on a schedule rather than waiting for noise, and replace pads as a set before they reach the metal. Regular inspection catches the causes of squeal before they become a stopping-power problem, which is exactly what our brake inspection checklist is designed to help you do.
Frequently asked questions
Why do my bike brakes squeak?
The most common causes are contaminated pads or rotors from oil, degreaser, or brake fluid, misalignment between the pad and the rim or rotor, glazed pads, and vibration. Wet-weather squeal that clears after a few stops is usually harmless.
Why do disc brakes squeal when not braking?
A rotor that lightly rubs a pad because the caliper is misaligned or the rotor is slightly bent will squeal or ping even when you are not braking. Re-centring the caliper and checking rotor trueness usually fixes it.
How do I stop my bike brakes from squealing?
Clean the rotor or rim and the pads with isopropyl alcohol, check for contamination, re-align the caliper or brake arms, and lightly sand glazed pads. If squeal persists alongside poor braking power, replace contaminated pads.
Are squealing bike brakes dangerous?
Squeal by itself is not always dangerous, but it can signal contamination, glazing, or misalignment that reduces stopping power. If braking feels weak, the lever pulls to the bar, or the noise started after lubricant reached the brake, stop riding and have it inspected.
Why do my bike brakes squeal when wet?
A thin film of water and road grit on the braking surface changes friction and can make the brake sing for the first few stops. If the noise clears once the surface dries and braking power is normal, it is harmless. Persistent wet squeal points to contamination or worn pads.
Continue the topic
More brake care guides
 Bike Disc Brake Rubbing: What to Check First
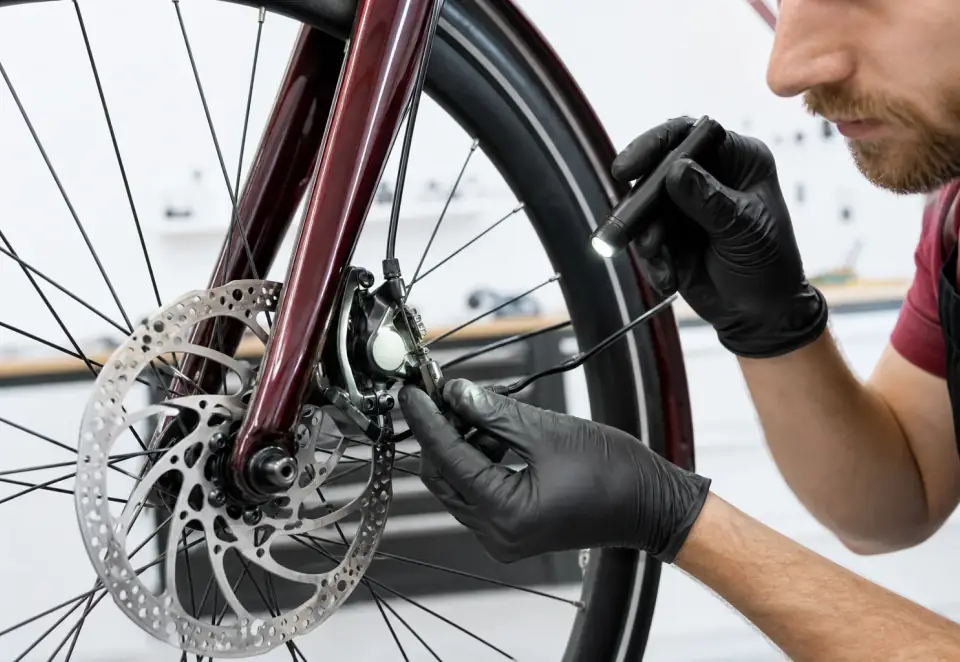 Can I Ride With Worn Bike Brake Pads?
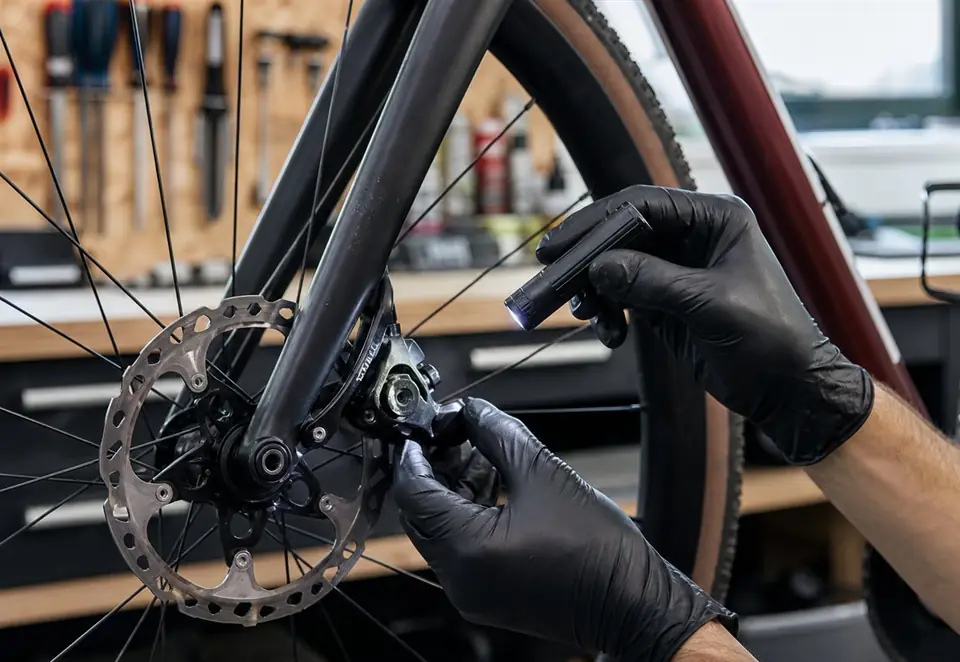 Bike Brake Inspection: A Safety-First Checklist
Watch the technique
How to Align a Hydraulic Disc Brake on a Bike
Video by Pascal RIDE · Watch on YouTube