A bike maintenance schedule is a layered routine, not a single mileage number: run a safety check before every ride, a condition check weekly, a wear inspection monthly, and manufacturer-defined service every few months to once or twice a year. The intervals get shorter in wet, muddy, dusty, high-mileage, or heavily loaded use, and longer for a dry-weather bike that is stored well and ridden lightly. Below is a complete plan you can adapt to a road bike, mountain bike, commuter, or e-bike.
In this guide
- Why a schedule beats one mileage number
- The master maintenance schedule
- Before every ride
- Weekly and every few rides
- Monthly inspection
- Every few months and seasonal
- Annual professional service
- Adapting the schedule to your bike
- How weather and terrain change the intervals
- Keeping a maintenance log
Why a schedule beats one mileage number
Ask “how often should I service my bike?” and you will get a single answer such as “every 25 hours of riding” or “every 1,000 miles.” That number is a useful starting point, but on its own it is wrong for most riders, because the things that wear out a bicycle do not all run on the same clock.
Two separate forces drive maintenance. Mileage drives mechanical wear — chain elongation, brake pad thickness, tyre tread, and bearing load all accumulate with distance. Time and exposure drive chemical and environmental decay — lubricant washes out or dries up, cables corrode inside their housing, sealant cures in a tubeless tyre, hydraulic fluid absorbs moisture, and rubber ages whether you ride or not. A bike that sits in a damp shed all winter needs attention in spring even though the odometer never moved.
A good bike maintenance plan therefore combines a mileage trigger (replace the chain when a gauge reads worn, not on a date) with a calendar trigger (bleed brakes, refresh sealant, and service bearings on a seasonal rhythm regardless of distance). The maintenance cycle repeats: inspect, act on what the evidence shows, log it, and let the results tighten or loosen your next interval. That feedback loop is what a fixed mileage number can never give you.
The layered approach below does exactly that. Each layer has a different purpose: the pre-ride check catches sudden changes, the weekly check keeps the drivetrain healthy, the monthly inspection measures wear, and the seasonal and annual work handles the parts that fail slowly and quietly.
There is one more advantage to thinking in layers rather than a single service date. Bicycle components fail on wildly different timescales — a chain can wear out in 1,500 miles while a headset bearing may last five years, and a tyre can age out from UV before its tread ever wears down. No single interval can catch all three. By assigning each part to the layer that matches how it fails, you inspect fast-wearing parts often and slow-failing parts rarely, and you stop wasting effort re-checking things that have not changed. That is the difference between a genuine maintenance cycle and a chore you do once a year and hope covers everything.
The master maintenance schedule
This table is the backbone of routine bike maintenance. Treat the intervals as defaults for a bike ridden a few hours a week in mixed dry conditions, then adjust using the sections that follow. Distance figures assume typical adult riding; heavier riders, loaded bikes, and hard efforts reach the wear limits sooner.
| Interval | Core tasks | Why |
|---|---|---|
| Every ride | Tyre pressure, quick brake pull, wheel/axle security, quick chain glance, lights | Catches overnight changes and anything loosened since last ride |
| Weekly / every few rides | Wipe and inspect chain, re-lube if dry, check tread and sidewalls, clean visible grime, chase new noises | Keeps the drivetrain running and surfaces problems early |
| Every 100–200 miles or after any wet ride | Degrease and re-lube chain, wipe cassette and jockey wheels | Wet and gritty rides strip lube and grind the drivetrain |
| Monthly | Measure chain wear with a gauge, inspect brake pads, check bearing play, look over cables/hoses, torque-check key bolts | Turns wear into a measurement before it damages other parts |
| Every 3–6 months | Deep drivetrain clean, brake bleed check, cable/housing inspection, tubeless sealant top-up, bar tape/grips | Handles time-driven decay a mileage count misses |
| Annually (or 1–2x per year) | Full professional service: bearings, cables, brakes, drivetrain wear audit, frame inspection | Reaches the internal parts and torque-critical work most riders should not DIY |
| Component-specific | Suspension, motor, battery, hydraulic brakes, electronic shifting per manual | These run on the maker’s schedule, not a generic one |
Before every ride
The pre-ride check is the highest-value habit in cycling because it costs about a minute and catches the failures most likely to cause a crash. Run through five things every single time:
- Tyres: squeeze for pressure (top up if soft) and scan the tread and sidewall for cuts or bulges.
- Brakes: pull each lever; it should firm up well before the bar and hold the bike still.
- Wheels: confirm quick-releases or thru-axles are closed and tight, and give each wheel a wobble to check for play.
- Chain and shifting: a quick glance for a dry, rusty, or gritty chain; a couple of test shifts if you have time.
- Contact points and lights: bars and saddle firm, and lights charged if you might ride into dusk.
If anything fails this check, fix it before you ride, not after. A full walkthrough lives in the pre-ride bike check guide, and it applies equally to a road bike, an MTB, and a commuter.
The pre-ride check earns its place because it targets the failures that are both common and consequential. Under-inflated tyres cause pinch flats and sluggish handling; a soft or fading brake lever is the clearest early warning of a fluid or pad problem; an unclosed thru-axle or quick-release is one of the few faults that can drop a wheel out mid-ride. None of these show up on a mileage counter — they happen between rides, from a slow leak, a knock in transit, or a quick-release someone bumped in the garage. Because the check is so short, resist the urge to skip it on familiar rides; the ride you skip it on is exactly when something has changed.
Weekly and every few rides
The weekly layer keeps small problems small. For most riders this is a ten-minute session; daily commuters and trail riders may compress it into “after every hard or wet ride” instead of a fixed day.
Chain care is the centrepiece. Wipe the chain with a clean rag, and if it looks dry, dull, or squeaks, re-lube it and wipe off the excess. As a rule of thumb, re-lube every 100–200 miles, and always after a wet or muddy ride — water carries lube away and leaves grit behind. How much you ride in the rain matters more than the calendar here; see how often to lube a bike chain for wet-versus-dry timing and lube choice.
Also in the weekly pass: clean off visible dirt so you can actually see the frame, inspect tyre tread and sidewalls in better light than a pre-ride glance allows, top up any lights, and investigate any new sound. A creak, click, or grind that appeared this week is easier to trace now than after another 200 miles of riding on it.
Monthly inspection
Monthly is where the schedule shifts from cleaning to measuring. The goal is to catch wear before a worn part damages a more expensive one — the classic example being a stretched chain that chews up the cassette and chainrings.
- Chain wear: check with a chain-wear gauge. Replace at roughly 0.5% elongation for 11- and 12-speed drivetrains and around 0.75% for older wide-chain setups; a fresh chain is far cheaper than a cassette. See when to replace a bike chain for reading the gauge.
- Brake pads: inspect thickness. Rim pads need replacing when the grooves wear away; disc pads when the friction material drops to roughly 1 mm or less.
- Bearings: rock the wheels side to side and the cranks in and out feeling for play, and check the headset by holding the front brake and rocking the bike.
- Cables and hoses: look for fraying, kinks, corrosion at the ends, and cracked or leaking housing.
- Bolts: torque-check the stem, seatpost, bottle cages, and any accessory mounts to spec — especially on carbon parts.
Do a proper frame clean during this pass so you can inspect the tubes for cracks, dents, or paint bubbling that can hide damage. The monthly section of the maintenance checklist breaks each of these into pass/fail steps.
Every few months and seasonal
Some tasks are driven by time and weather rather than distance, so they belong on a seasonal rhythm even if your mileage is low. Every three to six months, plan on:
- A deep drivetrain clean — degrease the chain, cassette, and chainrings, then re-lube. Grit that survives weekly wiping gets removed here. The drivetrain maintenance guide covers the full strip-and-clean.
- Brake attention: for hydraulic systems, check lever feel and whether a bleed is due (fluid absorbs moisture over months); for rim brakes, check pad alignment and rim wear.
- Cables and housing: road and gravel bikes benefit from fresh gear and brake cables at least yearly, sooner if shifting has gone gritty.
- Tubeless sealant: top up or replace, as it dries out in roughly two to six months depending on climate.
- Contact points: fresh bar tape or grips both improves grip and lets you inspect the bars underneath.
Seasonal transitions are natural triggers. A spring service after a wet winter, and an autumn service before the salt-and-rain season, catch corrosion before it sets in. Riders who store a bike over winter should service before storage (clean and lube to prevent rust) and again before the first spring ride.
Annual professional service
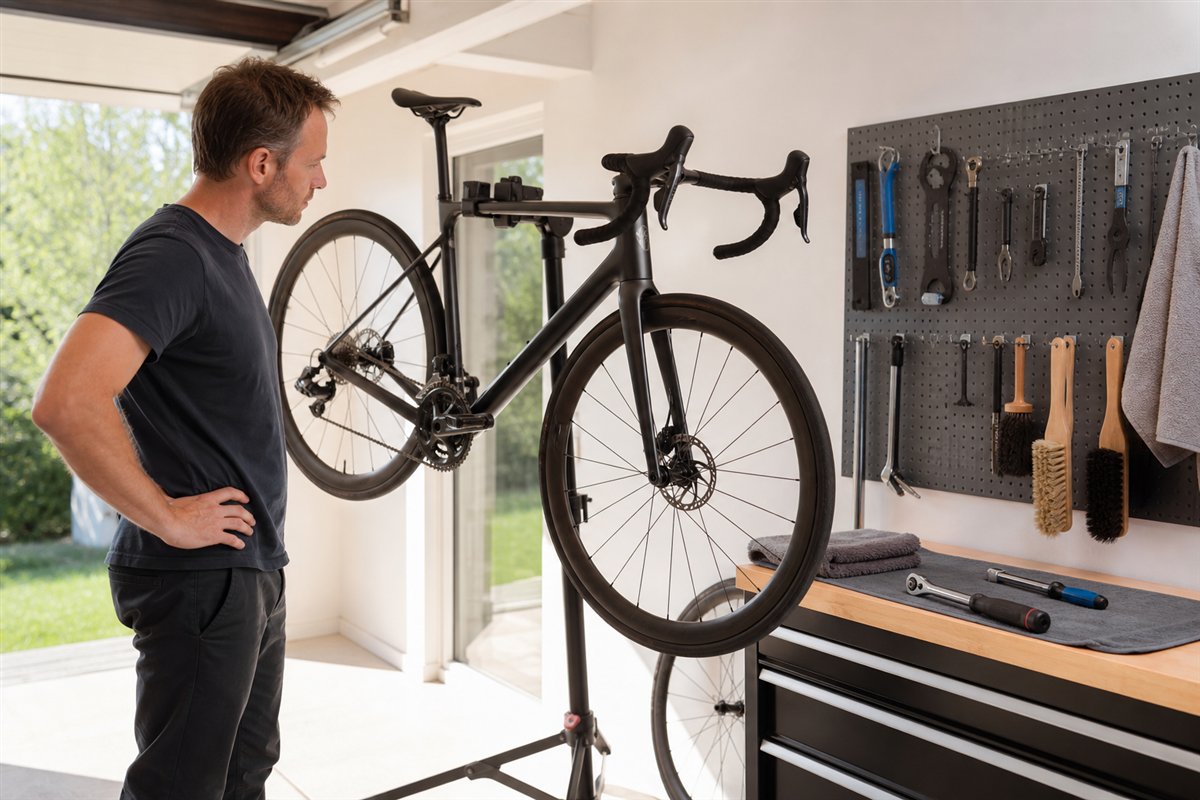
Once or twice a year, most riders should book a full professional service — or do the equivalent themselves only if they have the tools, torque specs, and experience. This is the layer that reaches parts a home routine rarely touches:
- Headset, bottom bracket, and hub bearings cleaned, inspected, and re-greased or replaced.
- A full drivetrain wear audit — chain, cassette, chainrings, and jockey wheels measured together, since replacing one worn part onto three others causes skipping.
- Brakes fully serviced: bleed, pad and rotor inspection, or rim-brake overhaul.
- Cables and housing replaced as a set.
- A careful frame and fork inspection for cracks and fatigue, plus a full torque check.
How often within the “once or twice a year” range depends on use: a light, dry-weather road bike may be fine annually, while a daily commuter, a hard-ridden MTB, or a high-mileage bike deserves a service every six months. A rough guide many shops use is one full service per 2,000–3,000 miles or per 100 hours of riding, whichever comes first — but bring it forward if your monthly inspections keep flagging the same wear. The bike service checklist lists exactly what a shop covers so you know what you are paying for and can decide which items to keep in-house.
The value of the annual service is not just the parts it replaces but the second opinion it provides. A frame crack, a fatigued spoke, or early bearing roughness is far easier for an experienced mechanic to catch than for a rider who sees the bike every day. Book it in a quiet season if you can — shops are swamped every spring, and a bike that goes in during winter comes back ready for the riding season rather than sitting in a queue during it.
Adapting the schedule to your bike
The master schedule is a baseline. The type of bike, and how it is used, shifts the intervals and adds or removes tasks. Use this table to tune the plan.
| Bike / use | How intervals shift | Extra or changed tasks |
|---|---|---|
| Road bike (dry) | Longest intervals; often annual pro service is enough | Watch cable stretch on new bikes; keep bar tape fresh |
| Road/gravel (wet, all-season) | Chain lube after most rides; service every 6 months | Corrosion checks on cables and hardware; frequent degrease |
| Mountain bike (mtb maintenance schedule) | 2–3x more frequent drivetrain and brake work | Suspension lower-leg service (~50 hrs), pivot bearings, fork/shock air checks |
| Commuter / touring (loaded, daily) | Weekly tasks become near-daily; 6-month service | Rack and mudguard bolts, dynamo/lighting, heavier tyre wear |
| E-bike | Same base cadence but more frequent due to speed and torque | Motor, battery, and firmware per maker; faster chain and brake wear |
Two cases deserve their own guides. A mountain bike carries service items a road bike simply does not have — suspension seals and pivot bearings run on hour-based schedules from the manufacturer, and mud accelerates everything else. An e-bike adds the motor, battery, and drivetrain stress from higher average speeds and assist torque, which wears chains and brake pads noticeably faster; follow the dedicated e-bike maintenance schedule for the electrical and drivetrain specifics, and never improvise on a damaged battery.
How weather and terrain change the intervals
Conditions are the single biggest reason a fixed mileage number fails. The same bike ridden 100 miles in the dry and 100 miles in winter grit is on two completely different maintenance clocks.
- Wet riding strips chain lube and drives water into cables, bearings, and housing. Re-lube after every wet ride and shorten bearing and cable intervals.
- Mud and off-road grit act like grinding paste on the drivetrain and brake pads. MTB and gravel riders may clean and lube after every muddy ride and replace pads far sooner.
- Dust and sand work into bearings and seals; dry-lube climates and desert riding wear suspension and hubs faster than the mileage suggests.
- Road salt in winter corrodes fast. Rinse the bike after salted-road rides and bring seasonal services forward.
- Heat and UV age tyres, sealant, and rubber even in storage, so date-check tyres and refresh sealant on time regardless of miles.
- Load — a heavy rider, cargo, or a fully loaded tourer — raises stress on tyres, spokes, brakes, and bearings, pulling every interval shorter.
The practical rule: let the worst condition you ride in set the interval, not the average. If one ride a week is wet and muddy, plan the drivetrain around that ride, not the four dry ones.
Keeping a maintenance log
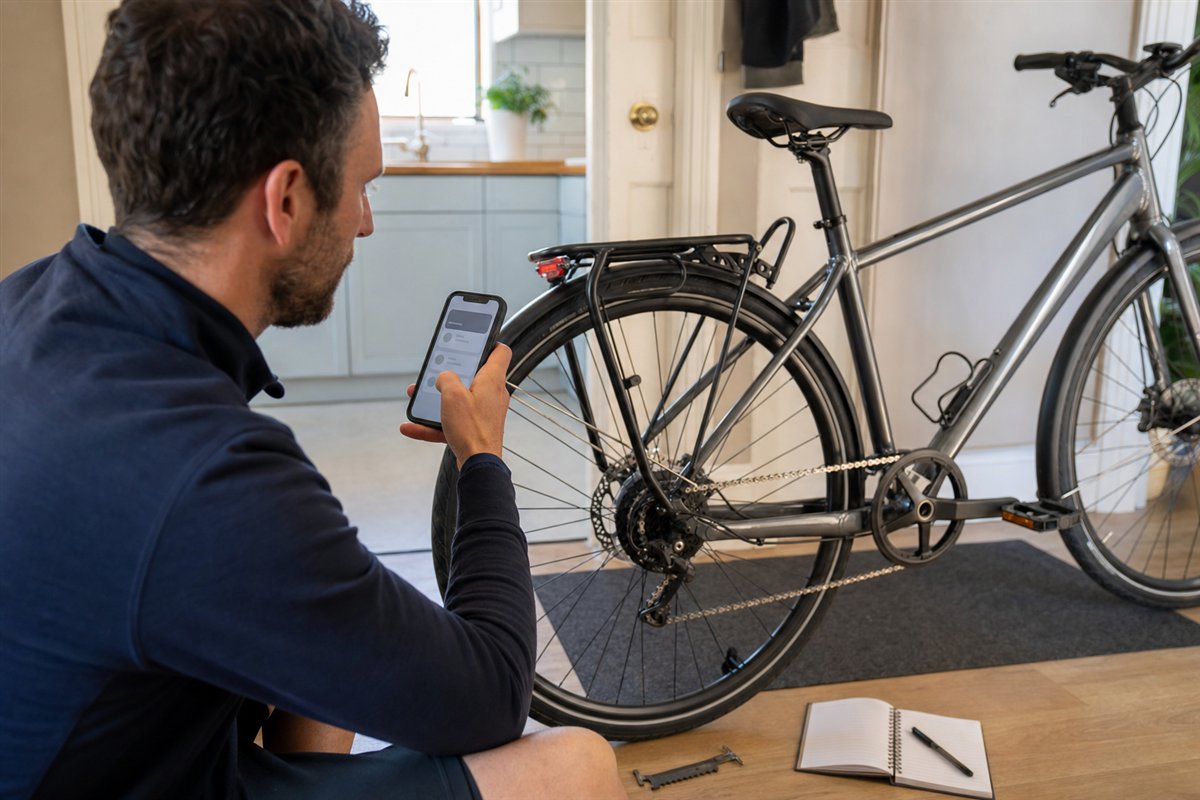
A maintenance log is what turns a generic schedule into your schedule. Without one you are guessing at chain mileage and forgetting when brakes were last bled; with one, the intervals become evidence-based and personal.
Record the essentials each time you work on the bike: the date, the odometer or rough mileage, the task done, and any parts replaced. Over a few months this reveals your real wear rate — you might learn your chain hits 0.5% at 1,400 miles in summer but only 900 in winter, and you can schedule accordingly instead of by rote. A note like “front pads 1 mm, replace next month” turns a vague worry into a planned job.
A log does not need an app. A notebook taped inside a cupboard, a spreadsheet, or the notes field of a cycling app all work; the format matters far less than doing it consistently. Log the professional services too, so you and any future mechanic know the history of the bearings, cables, and brakes. If you own more than one bike, keep a separate line per bike — mileage and wear diverge quickly between a summer road bike and a winter commuter, and a shared log hides that.
The payoff compounds over time. After a year of entries you can predict, not guess, when the next chain, set of pads, or sealant top-up is due, which lets you buy consumables ahead and avoid a bike sidelined waiting on a part. A log also protects resale value and warranty claims: a documented service history is concrete evidence the frame and drivetrain were cared for, and for e-bikes it can be the difference in a motor or battery warranty decision.
Crucially, a schedule and a log are aids, not permission to defer a known problem to its calendar date. A bulging tyre, a brake that reaches the bar, a loose wheel, steering play, suspected frame damage, or a damaged e-bike battery jumps the queue immediately, whatever the log says is “due.” When you are unsure whether something is safe to ride, stop and have it checked. Pair this schedule with the full maintenance checklist so every logged interval has a concrete list of steps behind it.
Frequently asked questions
How often should you service a bike?
Do a quick safety check before every ride, clean and lube the chain every 100 to 200 miles or after wet rides, and do a full drivetrain and brake inspection monthly. Book a professional service once or twice a year depending on mileage and conditions.
What regular maintenance should be done on a bicycle?
Regular bicycle maintenance is layered: pre-ride pressure and brake checks, weekly chain lubrication, monthly wear inspection of the chain, brake pads, and tyres, and seasonal work such as new cables, fresh bar tape, and a bearing service.
Is a bike maintenance schedule based on mileage or time?
Both. Mileage drives drivetrain wear while time and weather drive corrosion and lubricant breakdown, so a good bike maintenance plan combines a mileage trigger for the chain with a calendar trigger for seasonal service.
How often should a mountain bike be serviced compared to a road bike?
A mountain bike ridden in mud and dust often needs the same tasks two to three times more often than a road bike ridden in dry conditions. Suspension seals and pivot bearings add service items a road bike does not have, so plan on shorter intervals overall.
Continue the topic
More maintenance planning guides
 Bike Maintenance: The Complete Practical Guide
 Bike Service Checklist: What to Ask a Shop
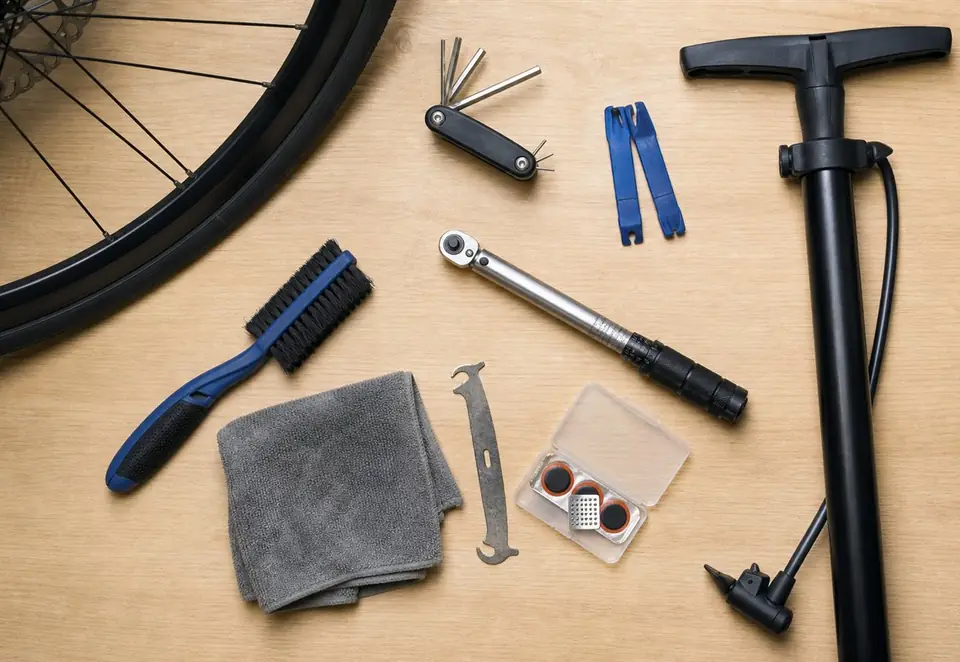 Bike Maintenance Checklist: Tools, Tasks, and Timing
Watch the technique
What To Expect When Servicing A Bike
Video by Global Cycling Network · Watch on YouTube